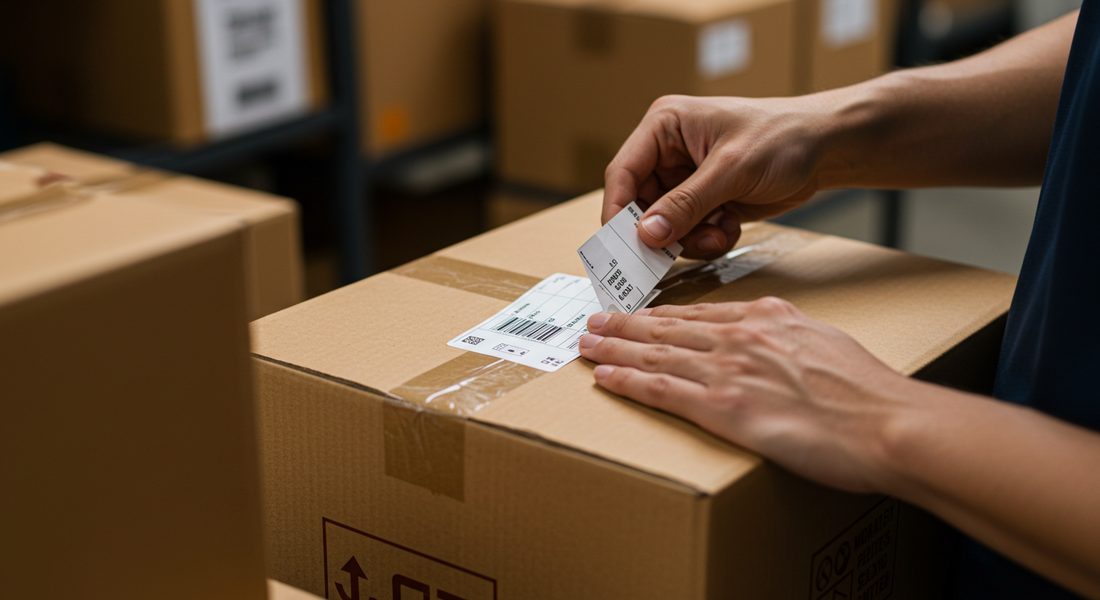
The Best Practices for Label Application
Let's be honest for a moment: the process of applying labels is pretty straightforward. At 4x6labels, we have encountered every scenario—and believe us, a bit of additional care during the application process can significantly improve results.
Here are the optimal practices to ensure your labels adhere effectively.

1. Start with a Clean Surface
Dirt, dust, oil, and moisture are your label’s worst enemies. Before applying any label, make sure the surface is
-
Clean
-
Dry
-
Free of any oils or residue
Wiping the surface with a soft cloth or a bit of rubbing alcohol can do the trick. Just let it dry completely before applying your label.
2. Watch the Temperature
Labels don’t do well with extremes. If your workspace feels like a freezer or a sauna, your adhesive might struggle. Ideally:
-
Apply labels in moderate temperatures (around 18–24°C or 65–75°F)
-
Avoid applying in cold storage unless you're using freezer-grade adhesive
3. Apply Pressure—Like You Mean It
Once your label touches the surface, use firm, even pressure to stick it down. This isn’t the time to be gentle. Use:
-
Your hand or a roller
-
Start from the center and press outward
-
Avoid trapping air bubbles underneath
Think of it like a sticker tattoo for your box—it needs a good press to stay put!
4. Mind the Surface Type
Not all surfaces are created equal. Labels love flat, smooth, non-porous surfaces like:
-
Cardboard boxes
-
Glass jars
-
Plastic packaging
But for rough, curved, or flexible materials (like bags or tubes), you’ll want to use labels with a stronger adhesive or flexible face stock.
5. Choose the Right Label Type
Here's where many people trip up. Just because it's a label doesn’t mean it’s the right label for the job. Here’s a quick cheat sheet:
| Label Type | Best For |
|---|---|
| Direct Thermal | Short-term use like shipping labels, receipts, barcode tags |
| Thermal Transfer | Long-lasting applications like product labels, inventory tags |
| Inkjet Labels | Color-rich printing for branding and packaging |
| Removable Labels | Temporary labeling like sale tags or reusable containers |
At 4x6labels, we carry all of the above, including custom-sized rolls and fanfold options that fit most printers like a glove.
6. Let It Set
After application, give your label some time to bond with the surface. Don’t rub it, move it, or expose it to extreme temps or moisture for at least a few minutes. Let the adhesive settle in for a long-term hold.
7. Avoid the "Touch & Peel" Temptation
You know what we’re talking about. Don’t keep touching the edges or trying to smooth it down after it's stuck. That just breaks the bond and leads to lifting or curling.
Once it’s on—leave it alone!
Final Thoughts
If you’re still having issues with labels not sticking, it might not be your method—it might be your labels.
We have high-quality, budget-friendly direct thermal and thermal transfer labels that work perfectly with major printers.
Better news? We sell them on 4x6labels, and we’re always happy to help you pick the best option.
