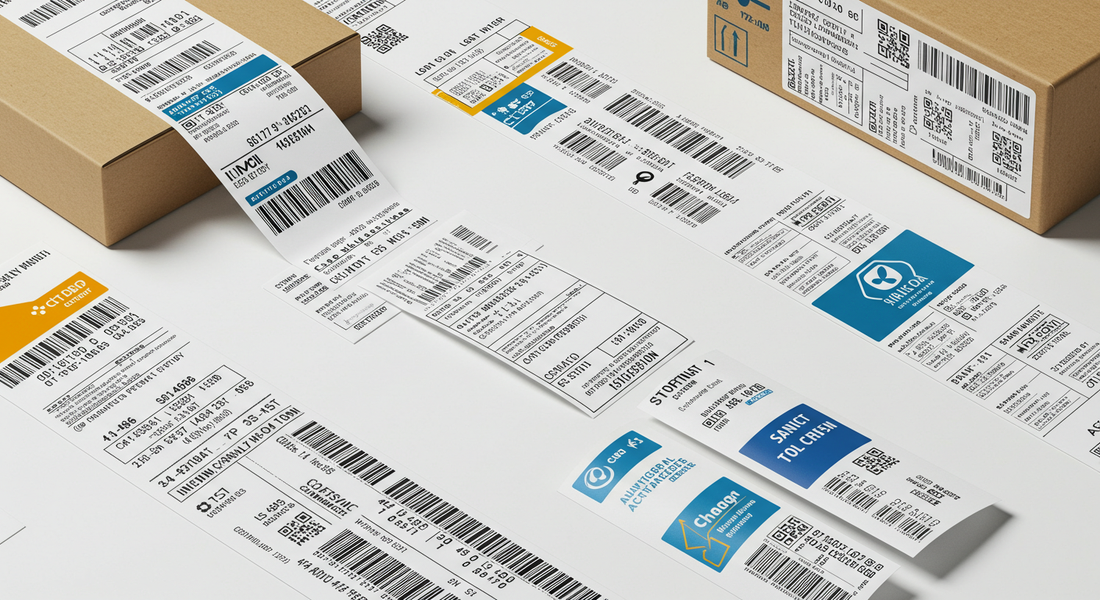
How to Create Custom Labels for Your Products
With the right tips, you will be able to apply high-quality labels in no time. Thus, let us delve into the process of designing and printing custom labels that truly reflect your brand and enhance the attractiveness of your products.

1. Start with the Purpose
Before you design anything, think about what your label needs to do. Is it for branding? For displaying ingredients? For shipping?
Common uses include:
-
Product branding labels (for jars, boxes, bags)
-
Informational labels (with directions, ingredients, or barcodes)
-
Promotional labels (for sales or limited editions)
Knowing the purpose helps you decide the label type, size, and material.
2. Choose the Right Label Material
Different products need different label materials. A label going on a frozen food container won’t survive with standard paper. But don’t worry—we’ve got options:
-
Direct thermal labels – Best for short-term use like shipping. No ink needed!
-
Thermal transfer labels – Durable and long-lasting. Perfect for product and barcode labels.
-
Inkjet labels – Ideal for vibrant, full-color designs.
-
Fanfold or roll—Depending on your printer setup, fanfold labels are great for high-volume printing, while rolls are more compact.
Tip: If you sell beauty products or anything with oil, go for a water-resistant label.
3. Pick the Right Size and Shape
This part’s fun because your label shape can really help your product stand out. At 4x6labels, we offer everything from the classic 4" x 6" to circles, ovals, rectangles, and more.
Ask yourself:
-
How much info do I need to display?
-
Will the label fit neatly on the container?
-
Does the shape match my branding?
If you're using a 1" core, 2" core, 3" core, or fanfold label printer, make sure your label size is compatible.
4. Design Like a Pro (Even If You Aren’t One)
You don’t need a degree in graphic design to create great labels. There are plenty of free tools like Canva, Avery Design & Print, or Maestro Label Designer that make it easy.
Here’s what makes a good label design:
-
Clear and readable fonts
-
Brand colors and logo
-
High-quality images (if using any)
-
Proper contrast for legibility
-
A clean, uncluttered layout
And don’t forget to leave a little quiet space around the edges so nothing gets cut off when printing!
5. Test Before You Print in Bulk
This step saves a lot of money. Always test-print your label before going into full production. Check for:
-
Smudging or misalignment
-
Fading text
-
Incorrect sizing
-
Material compatibility with your product
Print one, slap it on a product, and see how it looks and feels. If it passes your quality check, go wild.
6. Use Quality Label Supplies
Your design’s only as good as the materials you use. At 4x6labels, we offer:
-
Premium direct thermal and thermal transfer labels
-
Custom size options
-
Compatible labels for Zebra, Rollo, Dymo, and more
We also provide thermal ribbons, shipping boxes, and other essentials to complete your labeling and fulfillment setup.
Final Thoughts
Creating custom labels isn’t just about looks; it is about function, consistency, and telling your brand’s story at a glance. And once you’ve nailed the basics, you can have a lot of fun experimenting with seasonal labels, special promos, or even QR codes. Head to 4x6labels for everything from thermal printer rolls to custom-sized fanfold sheets that keep your business looking sharp and running smoothly.
